


Ok, this post will be a small HOW-TO. Ill make a better one once I get it all figured out, but Im picking it up pretty quickly.
This is for a light bearing holster. The one Im making is a Glock 19 and a TLR-1. This holster did NOT come out after two attempts, but I will post what I did anyway so anyone can learn from my mistakes.
The thing you need to learn about hydex holsters before you even attempt to make them is that any indentations or bulges HAVE to have a clear path all the way to the back of the holster, so that you can draw and reholster the weapon easily. So in order to do that with a light on the front, I took my dremel to a small section of 1 1/4 PVC and made it fit over the trigger guard. I also completely filled in the ejection port. I found some cardboard thats perfect for that. Its basically a bunch of thin sheets of cardboard glued together, so its not going to compress at all like the crappy cardboard did on the first holster I made. And I can peel off layers to make it thinner.
I also have the body of a pen put between the sights so it leaves room for the front sight. I need to get a wooden dowel though. The pen is warping from the heat. Worked good for a few runs though.
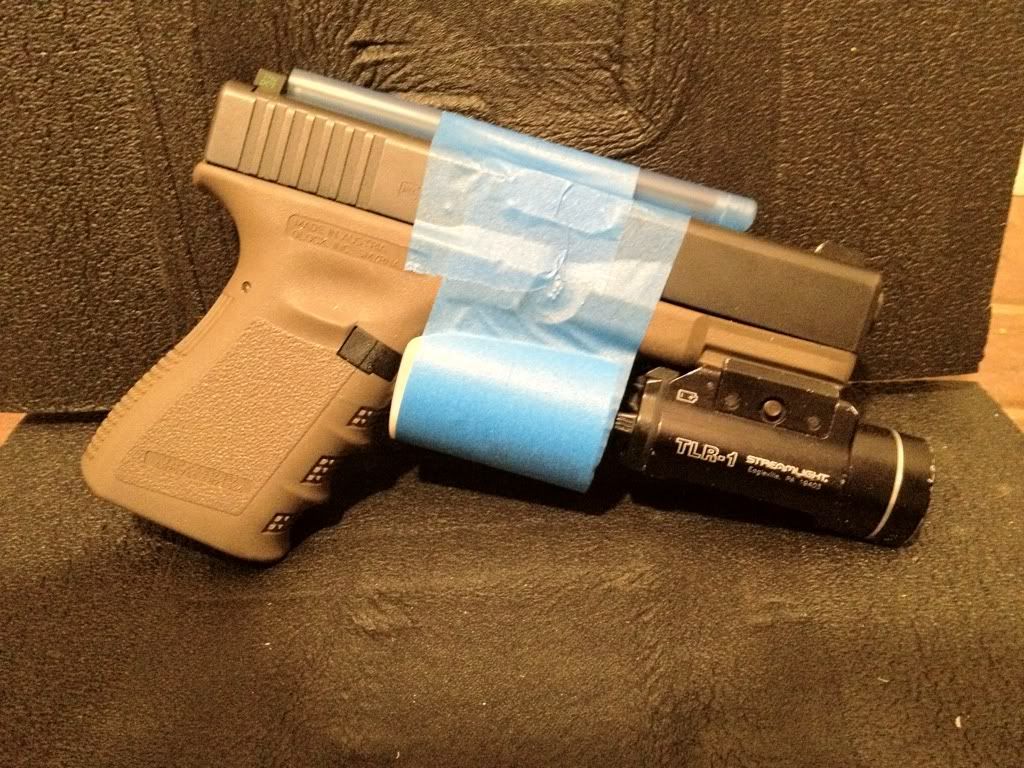
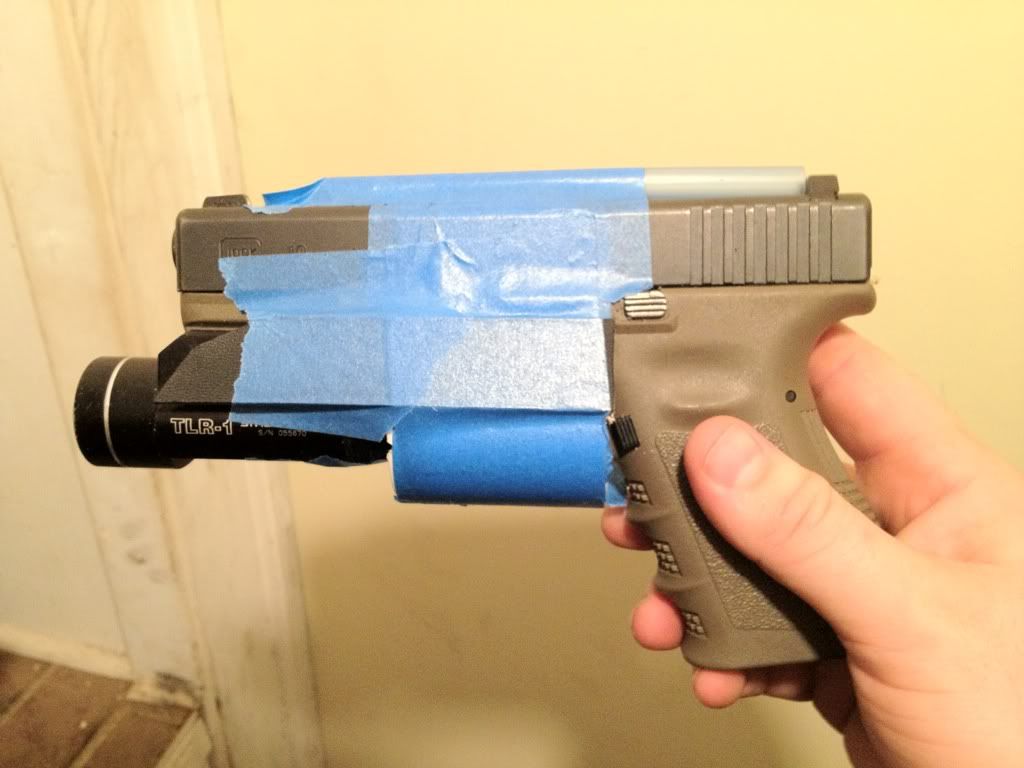
Another thing with a light bearing holster is that it will bind up on the back of the light itself, and the screw on a TLR-1 is a monstrosity if youre making a holster for it. So you need to make sure both of them are taken care of. I cut a piece of kydex and taped it on like this.
You will need to do both sides like this. Now here is one part I messed up on. The strips of kydex in this picture got too soft and were molded with everything else instead of keeping their shape and keeping the path clear. So tomorrow I have to go to Lowes and get a small dowel for the sight channel, a large one for the trigger guard (it to got too hot and pretty much melted and got smushed.), and some kind of wood strips for the sides.
But anyways, if you have everything setup, you can go ahead and measure and cut your kydex. All you have to do to cut it is score it with a razor a few times, and then just snap it off. And I like to leave a little extra on the sides, that way I know I dont end up with too little. Then you will want to take the part that will be the back of the holster, and draw an outline of the gun with whatever cant you want on it. This way when youre in a ruch to get the hot kydex in the press, you dont have to wonder if you have everything right. I forgot to do this, and ended up putting the cant on the gun the wrong way. Luckily, kydex is very forgiving and I just reheated it.
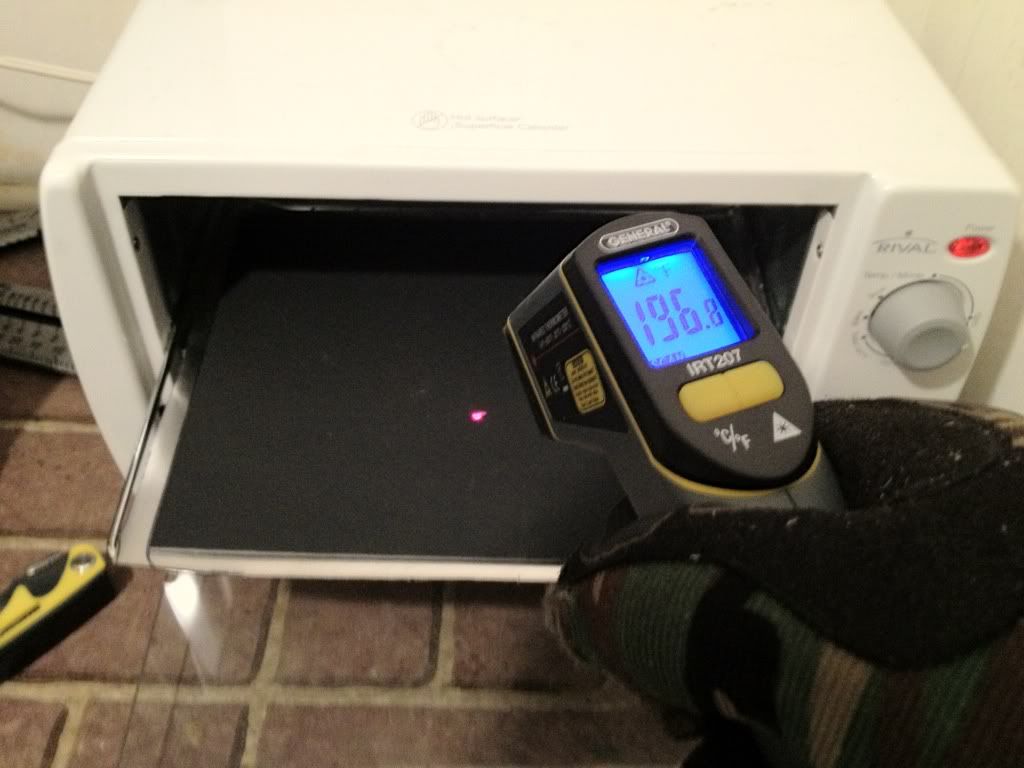
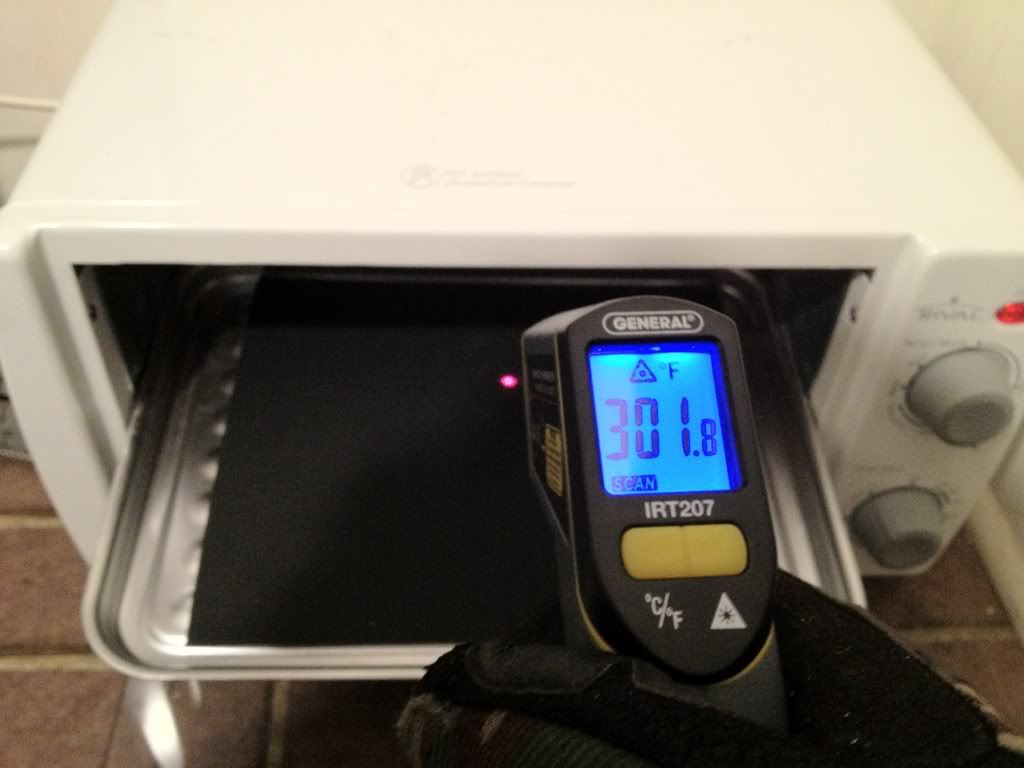
Now just throw it in the toaster oven. I start at 150*, then after a little bit, bump it up to 200*, and then 250* and possibly a little higher if needed. I check it constantly with my infrared thermometer. Its better to slowly heat up the kydex too. You dont want to get the oven up to 300* and then throw the kydex in because if it heats too fast, it will start to warp and shrink.
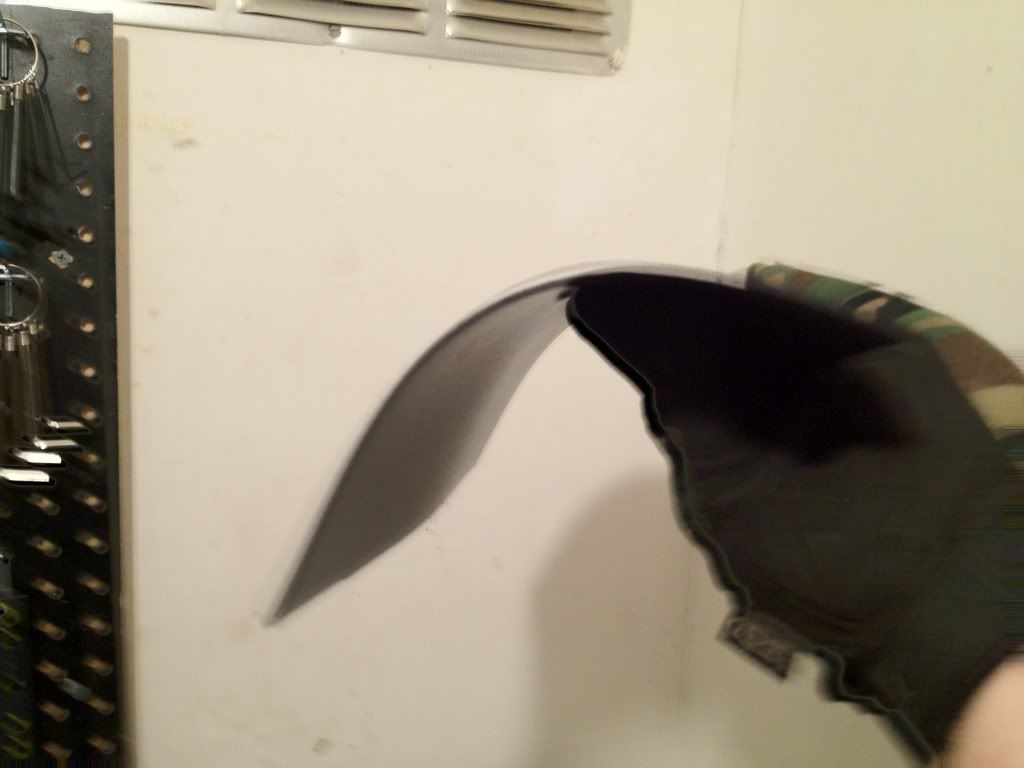
Keep checking it until you get it to the proper temperature. Once it gets somewhat hot, it is like putty. If it werent so hot it would be fun to play with. lol
Once you get it up to the proper temperature (Ive been stopping around 300*, but the manufacturer says that it can go up to around 350*) then pull it out, throw it in the press, put the gun on it, and then put the other sheet on top. You can also do one sheet at a time, but you have to put the cooled sheet in when you do the second sheet. That way the depth on the second one matches the first sheet.
I decided to make a video of myself pressing it, so you can see exactly what you have to do. Its pretty simple though.
Let me know if you have any questions.
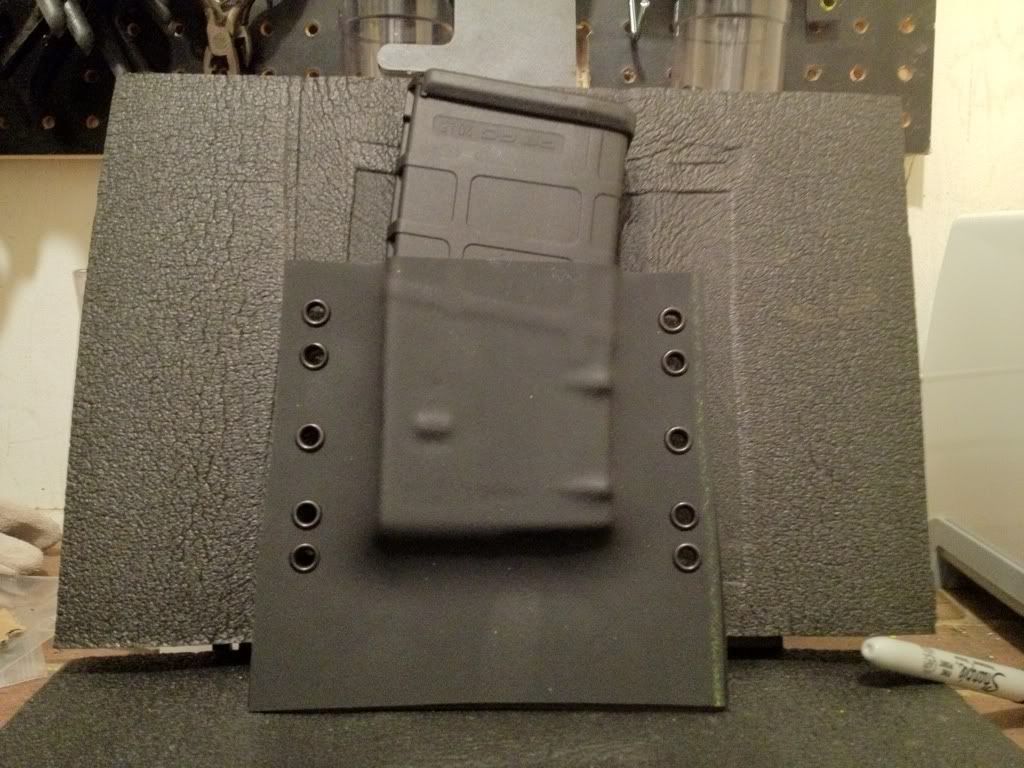
Oh, I also made this mag carrier for my .308 today. Still needs to be trimmed obviously.
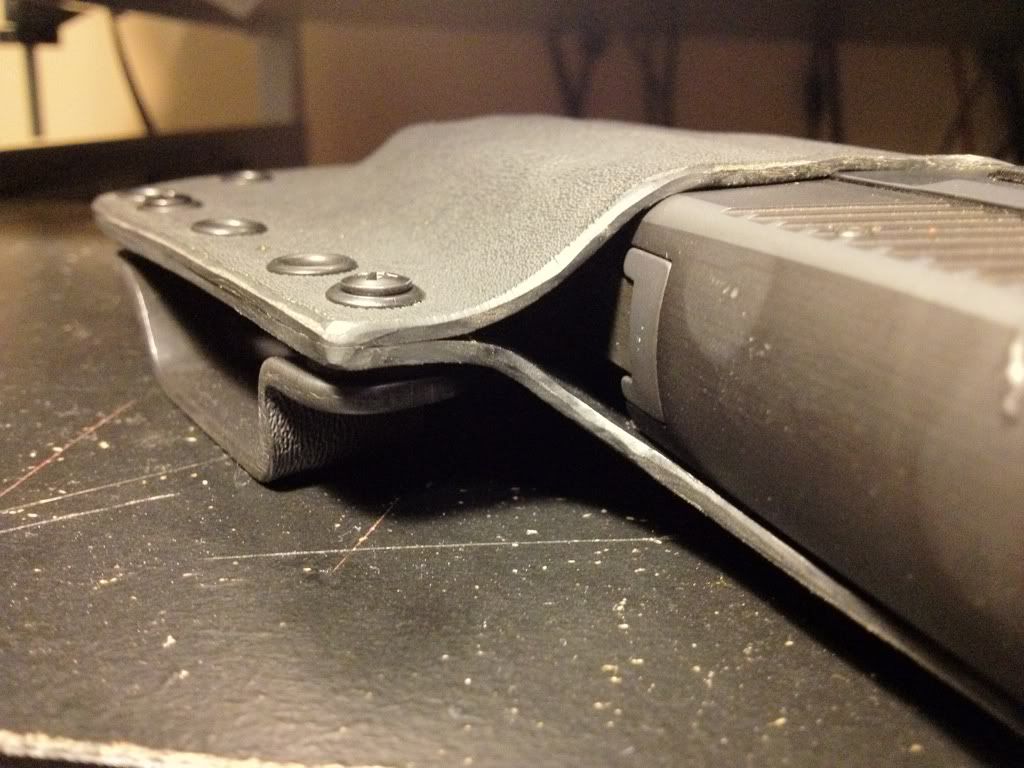
I was also able to get the retention just right on my Sig holster. I still havent gotten my heat gun, and I got impatient, so I actually held a lighter under it a few inches away and moved it around so it wasnt in one spot too long. Got it hot enough, and was able to get rid of the ejection port indentations. Then I took it to the back half around the trigger guard and loosened it up there some too. Works great now. Its even got that nice click that my Raven Concealment holster has. I also made the edges MUCH better. I rounded them and polished them up real nice. Now I wait for the heat gun so I can bend the edges so it contours to my side. Not gonna try that with a lighter. lol
EDIT: And from this picture, I can tell I missed a spot. lmao


 Reply With Quote
Bookmarks